This is an excerpt from “Slöjd in Wood” by Jögge Sundqvist.
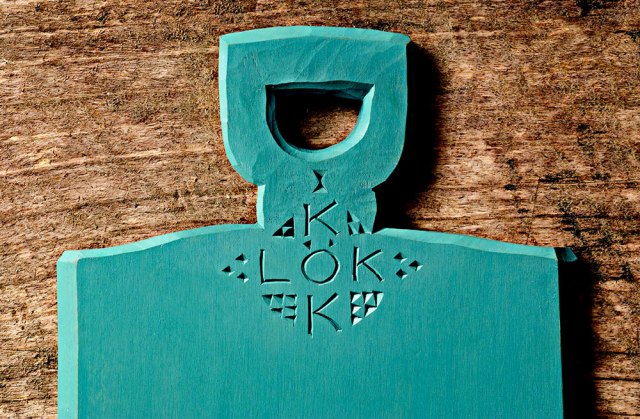
This cutting board is based on ones I saw in Norway. One side had a decoration painted on it and faced outward when it hung on the wall. The other side was the real cutting board and unpainted. A cutting board gets tough treatment. In frequent contact with water, it swells and shrinks again and again, so the wood changes in volume.
A cutting board with a glue joint cracks sooner or later. If you use a single board from the outer part of a straight-grown trunk, where the annual rings are of more or less of equal length, it warps to be slightly convex on the cutting side and is stable.
Tools
Saw, axe, wedges, brace, auger bit, spirit level, scrub plane, smoothing plane, knife, fret saw, drawknife, chip carving knife.
Material
A blank from straight-grained birch or common alder. Ash, maple or beech are also good. Make sure that the blank isn’t twisted.
Cutting boards are good to make from leftovers from other projects. For example, when splitting out stool seats from a half log, you can use the remaining outer parts for cutting boards.
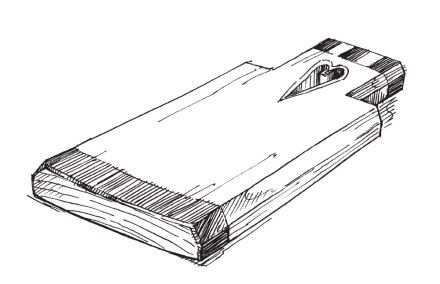
Hew away thick parts with an axe. Smooth both sides with a drawknife in the shaving horse, or with a scrub plane at the workbench. Make sure the blank isn’t twisted, and is evenly thick. It can be slightly cupped. Seal the end grain with glue and dry the board for a couple of weeks.
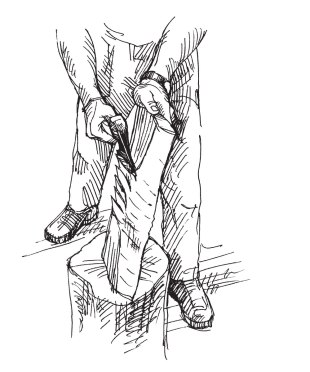
Drill holes for hanging or for a handle. Use a brace and auger bits. When the tip of the bit has come through on the backside, stop, turn the blank over and drill from the other side. This avoids tearout and splinters at the edges. If you want to make a handle with a larger hole, use a fret saw to saw out the shape. Clean inside the hole using a knife with a narrow blade.
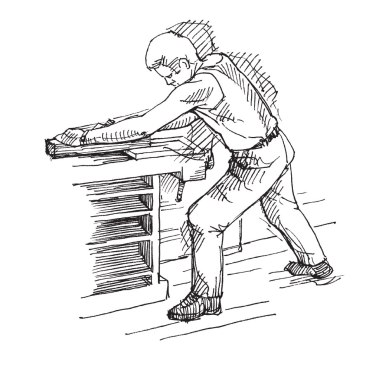
Plane the surface with a smoothing plane or use a sharp drawknife. It is when you flatten the surface that you realize the importance of a quality, straight-grained and knot-free blank. Even so, planing a wide board can be a difficult task. Think of all the slöjd makers throughout history. Rise to the challenge!
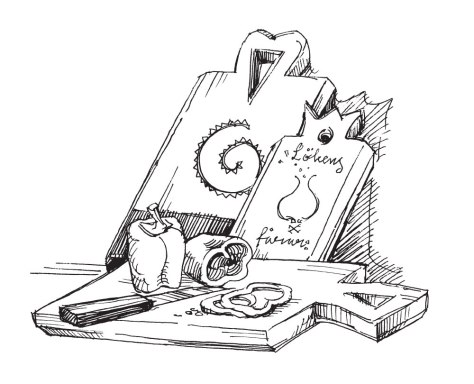
Saw and carve the overall shape. Clean-carve all end-grain wood using the can opener grip. Chamfer the edges carefully. On the bark side, chip carve a cool pattern and paint with a thin coat of oil paint. Now you suddenly have something spectacular to cut your vegetables on.
— Meghan B.