Getting the lid, the dust seal, the carcase and the top skirt of the tool chest all working in tandem requires some care. Small errors compound quickly.
In the end, the lid should overhang the carcase by about 1/16” on its front and ends before you attach the dust seal. Sometimes you have to trim the lid. Sometimes you have to trim the carcase.
Trimming the lid is straightforward. Mark what you want to remove and plane it away.
Trimming the carcase can be trickier. On one carcase on my bench today, the lid was out of square by less than 1/16” over its 24” width. The best solution was to trim the carcase. But the wood that needed to be removed was a thin taper that started at less than 1/16” at one end and diminished to nothing at the other end.
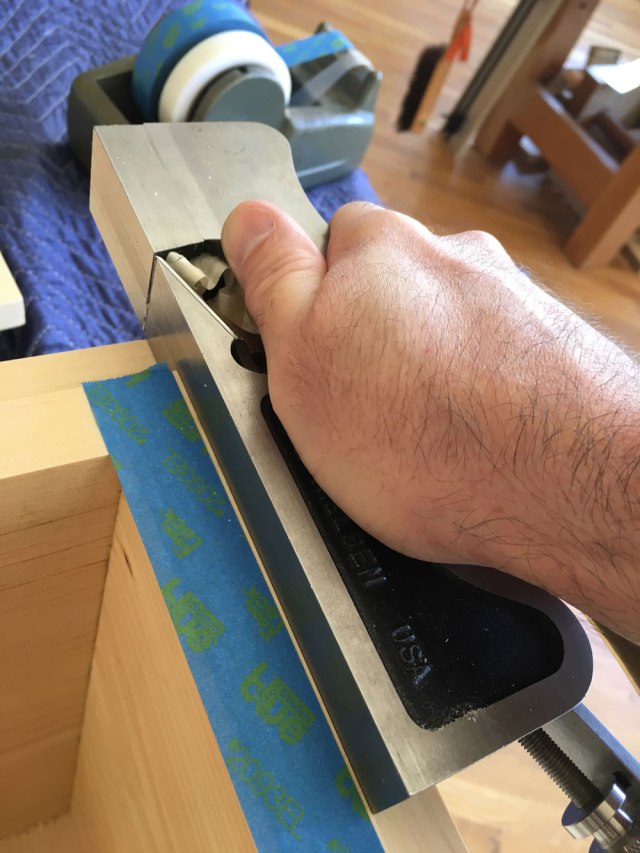
To mark this out I use blue tape.
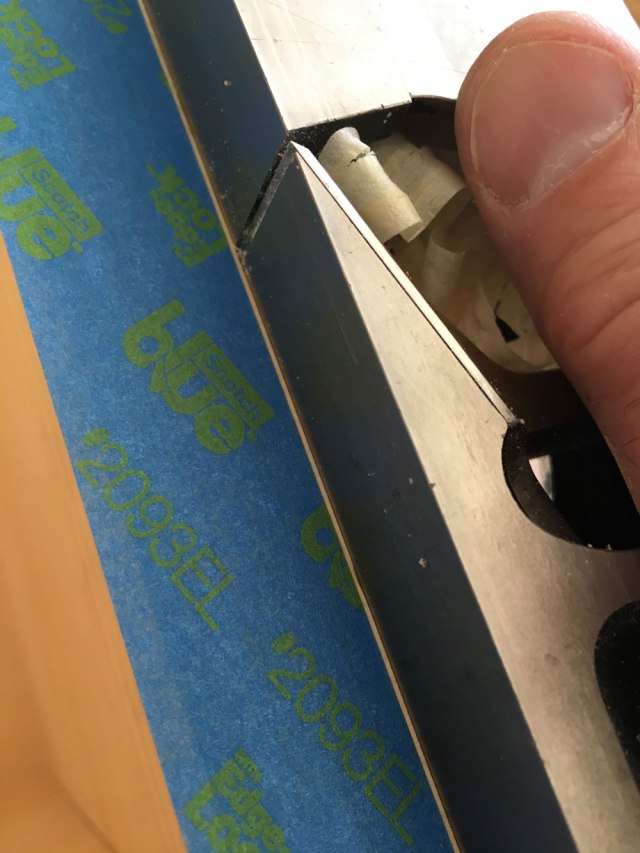
I first used a knife to mark where the taper should begin. Then I laid the tape down on the edge of the carcase. I put a shoulder plane on the carcase. Because of the tape, I can easily see the wood I need to remove (even with 49-year-old eyes). If I get any blue tape in the mouth of the plane, I know I’ve gone too far.
The Dust Seal
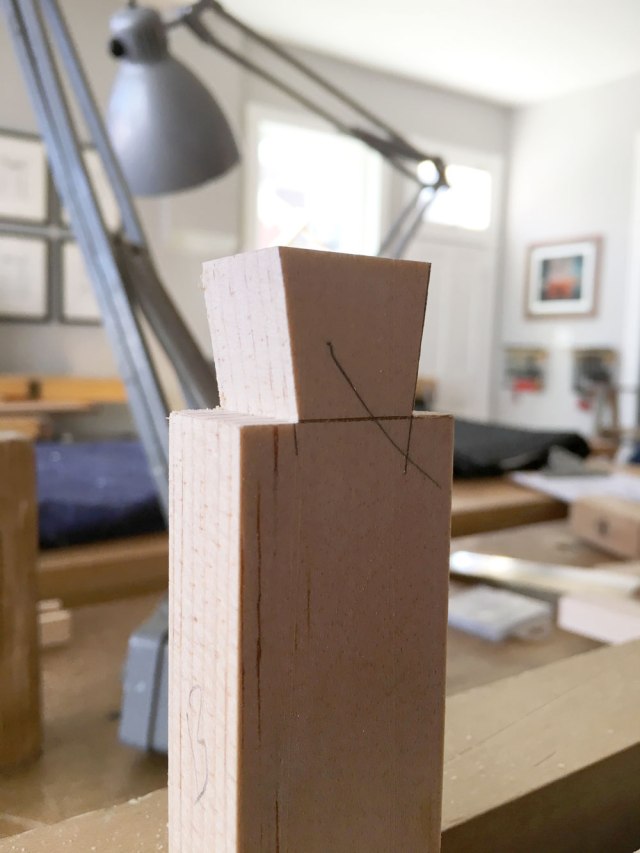
The dust seal is dovetailed at the two front corners and wraps around three edges of the lid. With these two particular chests, the dust seal is 1-3/8” wide. The problem here is the slope of the dovetails.
Usually I use a 1:4 slope for dovetails (about 14°). The problem is that the slope is a little extreme for a piece of wood 1-3/8” wide. So I use a less-radical slope, 1:8 or about 7°. This slope makes the base of the dovetail a good deal beefier.
While I’ve gotten away with a 1:4 slope on the dust seal, it looks like a pencil-necked chicken.
— Christopher Schwarz