This is an excerpt from “Making & Mastering Wood Planes” by David Finck.
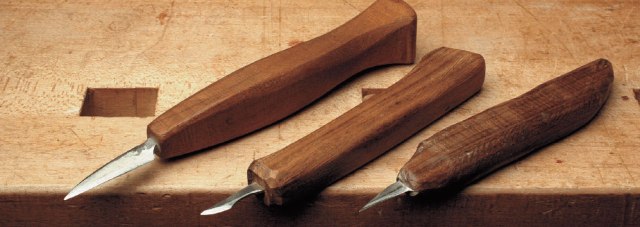
The blades on most marking and carving knives feel too thick and bulky for my taste. The types of knives shown (above) are easily made and perform beautifully for marking and also for carving delicate details. Discarded saber-saw blades make good knife blanks, combining springiness and good edge retention. Shape the blade slowly and carefully with a grinding wheel, taking care not to draw the temper of the steel.
Alternatively, this project provides a good opportunity to become acquainted with the basics of heat-treating metal—annealing, hardening, and tempering—which can be done easily on this small scale. The advantage is that the blank may be shaped easily with the steel in a softened state, without fear of ruining the temper, then re-hardened and re-tempered.
Heat-treating employs high-temperature heat sources and potentially flammable materials. Caution must be taken. Use gloves and safety glasses, and it is wise to have a fire extinguisher on hand. First anneal, or soften, the steel. Hold the knife blank with vise grips and heat the end that will become the cutting edge with a propane torch until it is cherry red. It is easiest to observe the colors of annealing and hardening in a darkened shop. Allow the blade to cool slowly by thrusting the heated blade into a can of wood ashes. When it is at room temperature, the metal can be worked with a file, grinder, or belt sander, with no concern for overheating the steel.
When the blade has been shaped, harden it by heating it to cherry-red and then quenching the blade in a can filled with motor oil or water, swirling it around until the metal has cooled. The blank should now be brittle-hard. To harden it properly, you must know the type of steel and the appropriate medium for quenching (which could be water, oil, or various inert gases), although water usually works well enough. Buff one face of the knife end of the blank to a shine with 150-grit wet-or-dry sandpaper in order to see the run of colors during the tempering process. Apply the torch, fitted with a heat spreader, to the edge of the knife blank opposite the cutting edge, and heat the edge very gently (from a distance).
Be aware that the thinnest part of the blade will heat fastest, so keep the heat away from this area. The metal will turn a straw color and then indigo. This progression of colors moves rapidly across the blade from the hotter edge to the cooler edge. When the cutting edge has acquired a straw tinge, quickly quench it in the motor oil or water to arrest the tempering process. Indigo-colored metal is too soft to hold an edge; straw-colored is just right. If you undershot, heat the blade a bit more and quench it again. If you overshot the mark, reharden the blade and try tempering it again. (See Alexander Weygers’s book The Making of Tools for more information on heat-treating.)
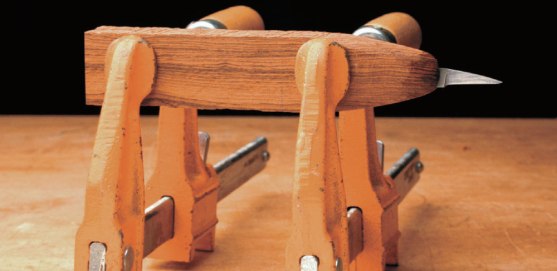
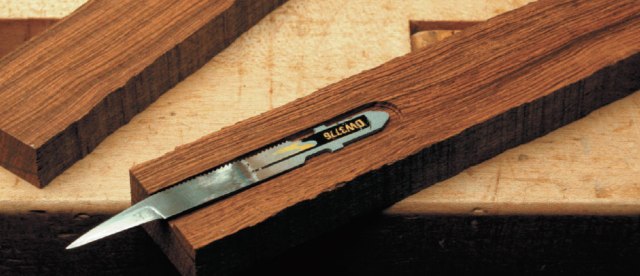
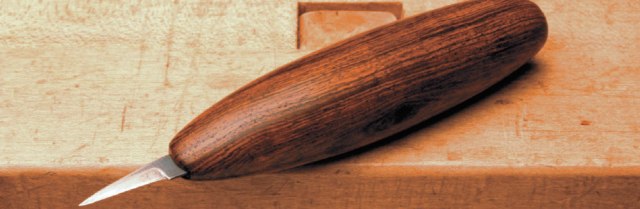
Next, saw an oversized handle blank in half and rout out a cavity that will accept the shank of the blade. Epoxy the blade into the cavity and glue the two halves together with yellow glue in one operation. (Alternatively, you may use polyurethane glue for the entire operation.) When the adhesives have dried, wrap the blade several times with electrician’s tape or sink it into a cork to guard against cuts. Shape the handle with the band saw, rasps, files, and sandpaper. Remove the tape and hone the edge.
— Meghan B.